

San Francisco Treasure Island Travel Itinerary
San Francisco Treasure Island Travel Itinerary

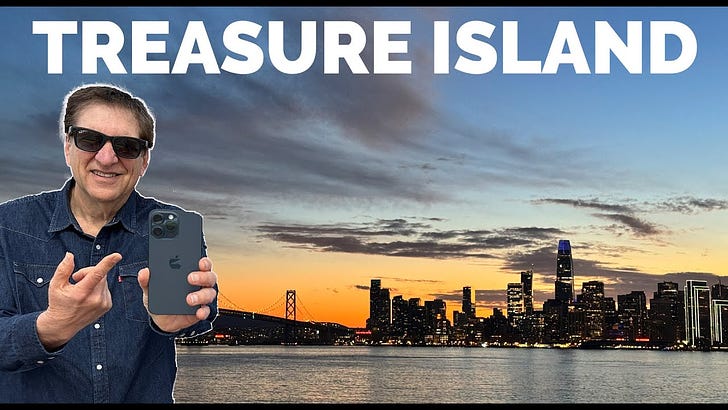
Discover Treasure Island: A Photographic Itinerary of San Francisco's Skyline
Introduction: For those seeking the best vantage point to capture the dynamic San Francisco skyline, including iconic landmarks such as Alcatraz, Angel Island, the Bay Bridge, and the Golden Gate Bridge, Treasure Island offers unparalleled views. Easily accessible and rich with history, this man-made island is a must-visit for photography enthusiasts. Here’s a comprehensive itinerary to help you make the most of your visit.
Day 1: Exploring Treasure Island
Morning: Arrival and Initial Exploration
Getting There: Treasure Island is conveniently located between San Francisco and the East Bay, accessible by car via the Bay Bridge or by ferry from San Francisco. Start your journey early to catch the morning light.
First Look: Begin at the edge of the island, where you can get panoramic shots of the San Francisco skyline. Despite ongoing construction, a short walk up the hill will reveal unobstructed views.
Afternoon: Iconic Landmarks and Leisure
Bay Bridge Views: Head to the spots overlooking the Bay Bridge. Capture shots of the bridge heading back to Oakland for some dramatic compositions.
Quiet Marina: Explore the small marina on Treasure Island for peaceful, scenic shots. The marina offers a contrast to the bustling city views.
Evening: Sunset and Night Photography
Sunset Shots: Treasure Island is famous for its stunning sunsets. Plan to arrive at your chosen spot about 15-20 minutes before sunset to set up. The best shots are often captured 15-20 minutes after sunset when the city lights start to illuminate.
Dining: End your day with dinner at Mersea, the island's only restaurant, offering fabulous views of the city as you dine.
Day 2: Deep Dive into Treasure Island’s Charm
Morning: Historical Exploration
Administration Building: Visit the old Art Deco administration building, which houses a museum and a bar. It’s located near the Ferry Landing and offers plenty of parking.
Historical Context: Learn about the island’s history, originally built in 1936 for the World’s Fair and later used as a military outpost. The rich history adds depth to your photography subjects.
Afternoon: Continuing the Adventure
Telephoto Lens Tips: Use the telephoto lens on your smartphone for clear, detailed shots of distant landmarks. Avoid digital zoom to maintain image quality.
Exploring the Island: Wander through the island’s quiet streets. Though currently dominated by construction, you’ll find unique perspectives and potential future residential neighborhoods.
Evening: Final Shots and Reflection
Golden Hour: Return to your favorite spots from Day 1 or discover new angles. The light at this time provides the perfect conditions for memorable photos.
Reflecting on the Experience: Take a moment to enjoy the serene environment and the incredible views. The transformation from day to night offers diverse photo opportunities.
Practical Tips:
Equipment: Bring a smartphone with telephoto capabilities. Clean your lens before you arrive, check your battery levels, and ensure you have enough storage.
Timing: The best photos are often captured during the golden hour and just after sunset.
Storage Solutions: Consider using SmugMug for unlimited photo storage and a beautiful portfolio presentation.
Conclusion: Treasure Island’s combination of history, construction, and stunning views makes it an ideal spot for photographers. Whether you’re capturing the morning light, the bustling afternoon, or the serene sunset, you’ll find Treasure Island offers a unique and rewarding photographic experience. Enjoy your visit and capture the beauty of San Francisco from this hidden gem.